
If you are thinking of starting your own online store and selling physical products or services over the internet but are unsure how to go about it, this article is for you.
Creating your own online store that brings in an income is not really difficult. You have two options. The first and more expensive option is to hire developers to create a custom-made online store for you.
The disadvantage of this option is that the creation of such a store can take months, followed by testing, fixing bugs, and only then released into production. A project like this will cost you several thousand dollars.
Another option, much better and faster, is to create your own online store based on WordPress CMS. Investments are minimal, and the opportunities are huge. Below we will describe how to create an online store using WordPress and WooCommerce.
Step 1: Domain
To create your online store, you must first have hosting and the appropriate domain. There are a lot of registrars for domains, and my personal favorite (probably the most famous registrar) is GoDaddy.
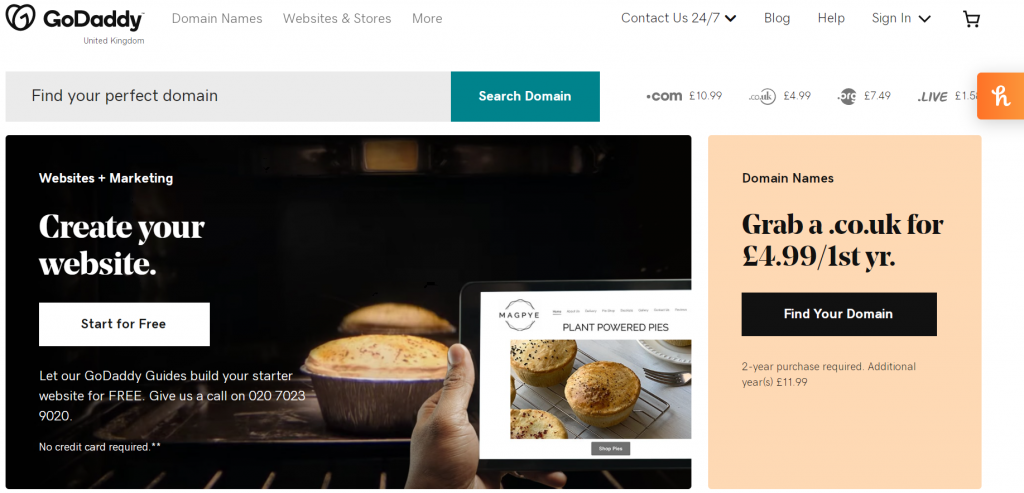
Enter the desired domain name in the search field. If the domain is free, a wizard will be launched automatically to guide you through the registration process. If the requested domain is taken, you will receive a notification and recommendations to register similar domains.
GoDaddy often has discount codes, so try searching the internet; you can save a few dollars on the domain. Usually, if you register a domain for two years, the first year is completely free, so consider that option as well.
GoDaddy is a service where you will register a domain within minutes. When you have a domain, then you need to connect it to your hosting. There are a lot of quality hosting providers, and our recommendation is to choose one that has hosting packages customized for WordPress.
Step 2: Hosting
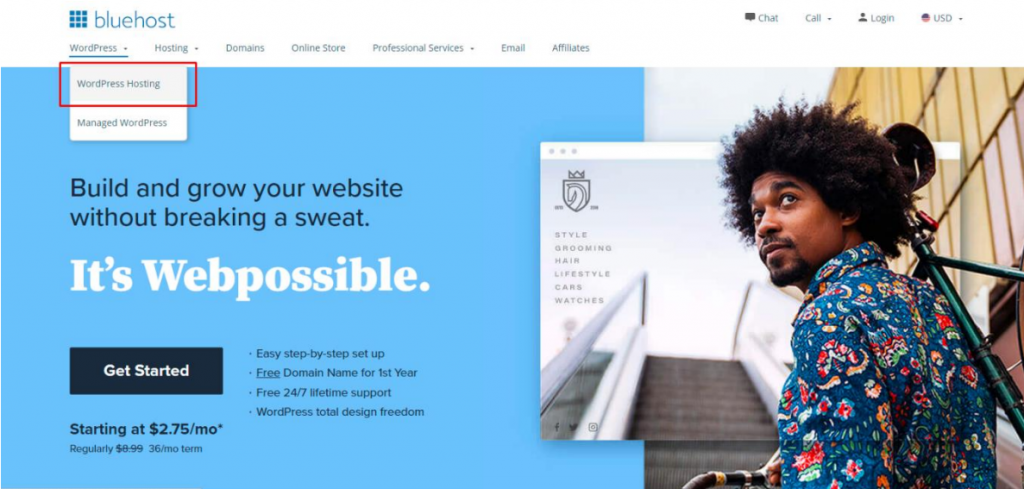
One of the best hosting services that have WordPress hosting packages is Bluehost. You can buy a good hosting package for only a few dollars a month.
That will be enough to create your online store and get started. Once your business expands then, you will have to expand the capacity of your hosting server, and you will probably no longer be able to use shared hosting, but you will have a VPS. However, if you anticipate significant growth and need more control over your hosting environment, you might consider opting for a DMCA ignored dedicated hosting solution.
But that’s a topic for another article; let’s get back to launching your e-commerce website.
Once you have purchased hosting and a domain, it is time to start making our online store.
The first thing you need to do is install WordPress on your hosting. Bluehost has a Cpanel – a central control point with a complete overview of your hosting server. From Cpanel, you can easily install WordPress with just a few clicks.
After installing WordPress, you need to decide which plugin to use. Since WordPress is the best and largest CMS today, there are also a lot of plugins that can broaden its functionality and make it a fully functional store. However, not all are of equal quality. For some of them, you should hire developers to add features you will need later.
Due to its popularity and a large number of options, our favorite is WooCommerce. It’s a great plugin that allows for the creation of a store in mere minutes. The basic features that enable you to run a business are all free. So let’s start.
Step 3: WooCommerce
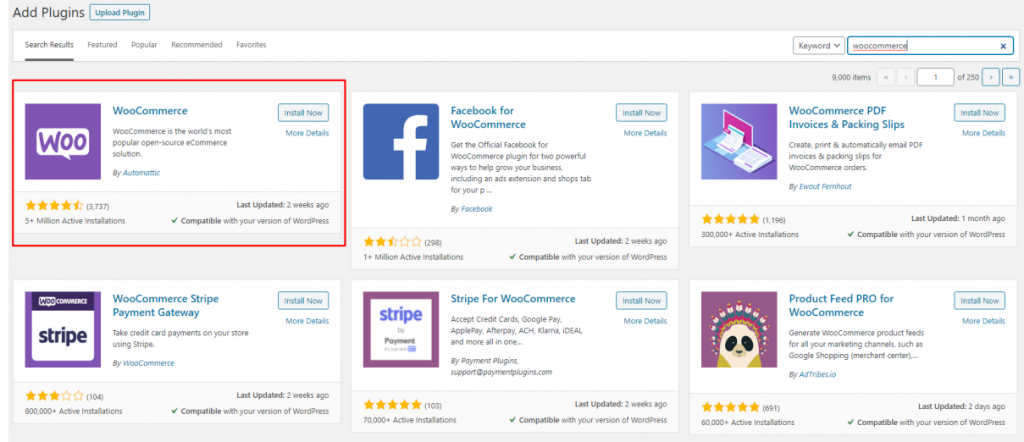
Log in to your WordPress site as an administrator, then click “Plugins,” and then click “Add new.” You have two options. The first is to type WooCommerce in the search box and install the plugin directly from the admin dashboard.
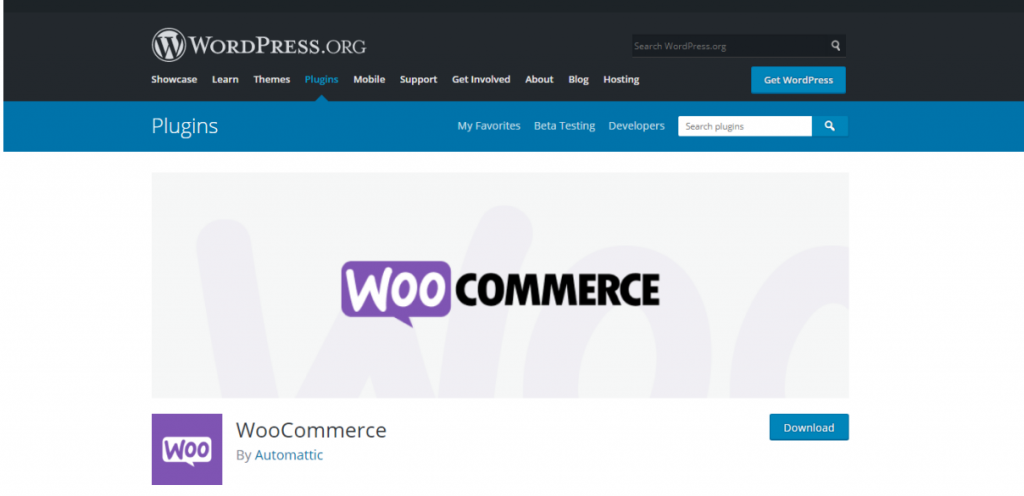
Another option is to go to WordPress.org and type WooCommerce in the search, then download the plugin to your pc and install it from your computer.
Once you have installed WooCommerce, click “Activate,” and the configuration process will start.
The complete configuration consists of 5 basic steps. This is mostly a description of your online store. Within these five steps, you won’t have any expansions of your site’s capabilities.
WooCommerce Set up and Configuration
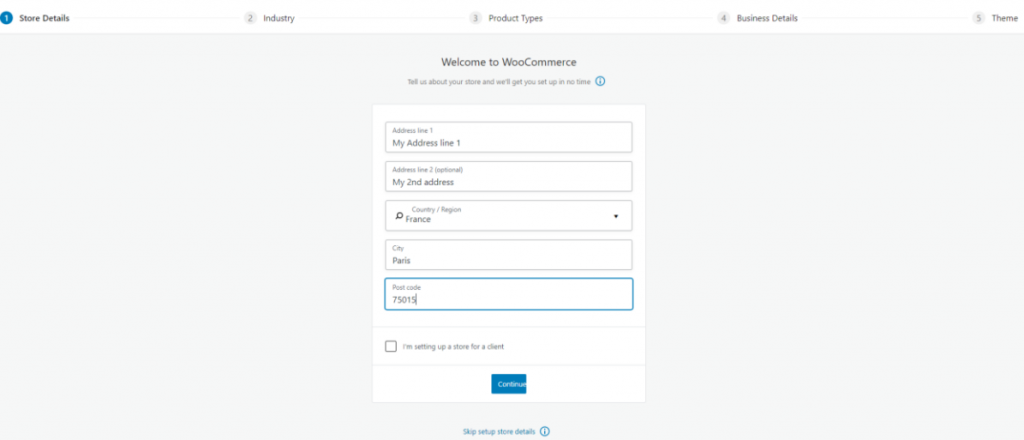
First, you must fill in the address of your online store (this is your physical address). Then you need to enter the state, city, and zip code. Once you have completed everything, click on “Continue.”
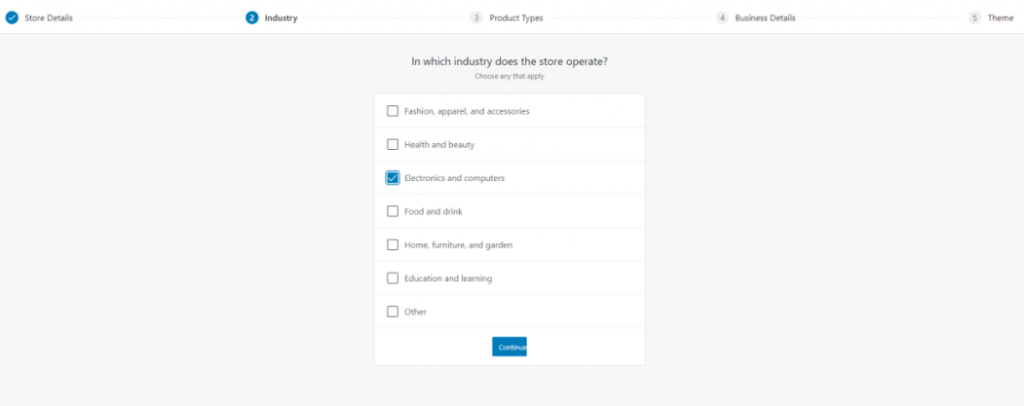
Within the second step, you’ll state what it is that you’re selling or what your Industry is. For demonstration purposes, I chose electronics and computers. If none of the above is your business, then select “Other” and click on “Continue.”
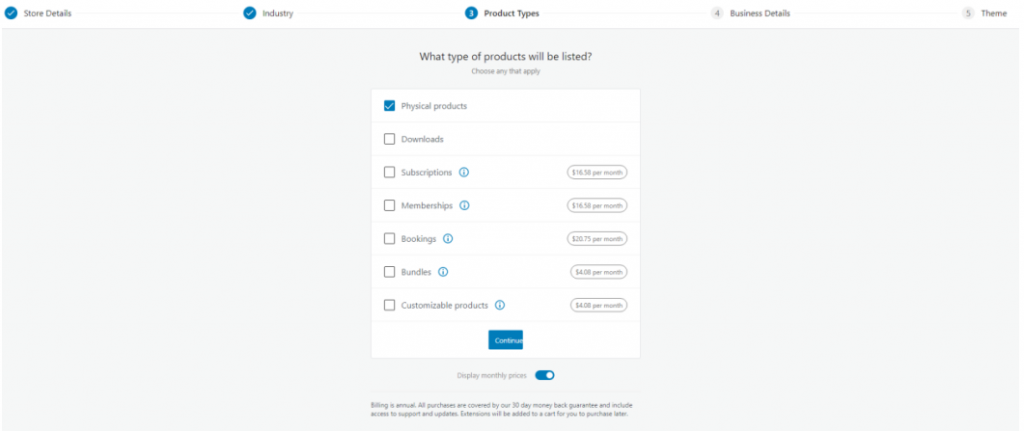
In the third step, you will select product types. This means either digital services or a physical product you’ll be sending to your customer’s doorstep. You will notice that the first two options are free. However, if you want to sell Subscriptions, Memberships, Bookings, Bundles, or Customizable products, then you will have to pay a certain monthly or annual fee.
The free version of the plugin is currently sufficient for our online store. We will choose to sell physical products, and we will click “Continue.”
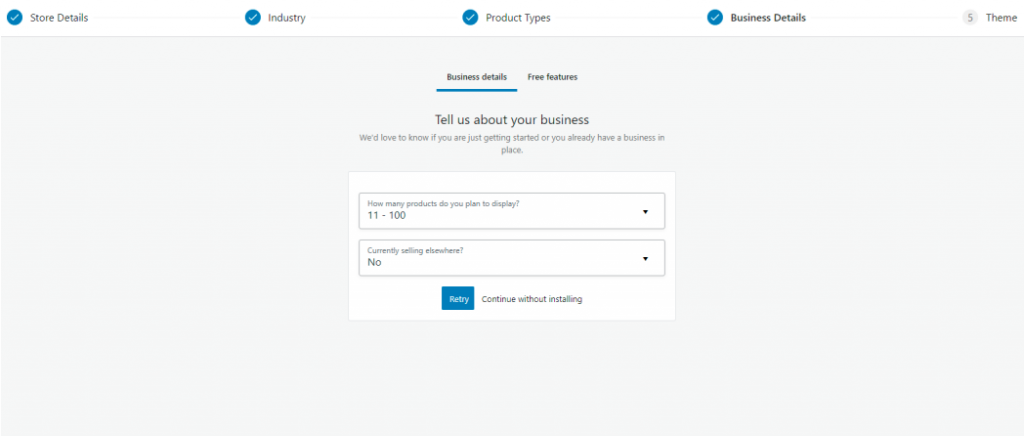
In the fourth step, you need to choose how many products you want to sell and whether you currently have another online store where you sell your products. For the purpose of the demonstration, we will choose to sell 11-100 products and not have any other online store.
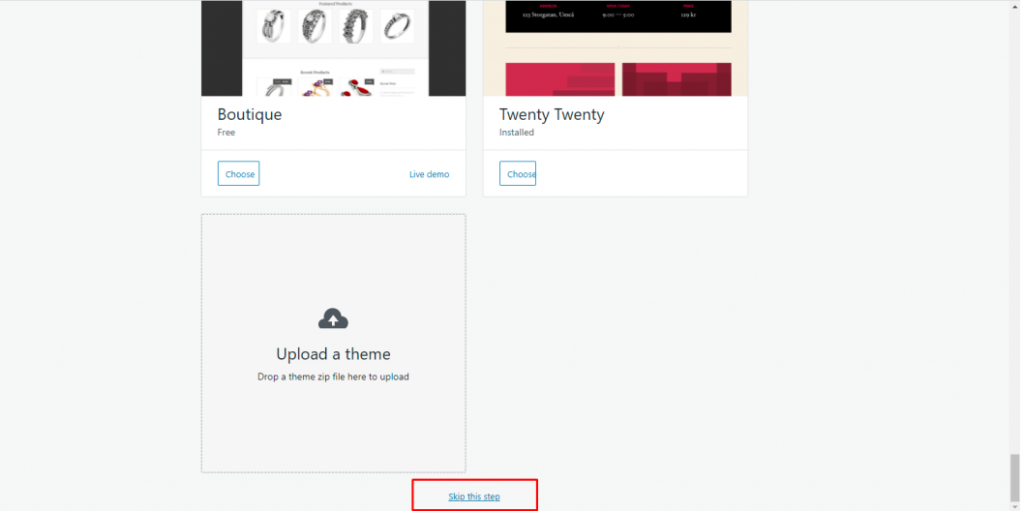
During the fifth step, you’ll have the option of selecting a theme. You have three options to choose from, All themes, Paid themes, and Free themes. At the bottom of the page, there is an option to upload a theme if you have previously purchased a WooCommerce theme that you like. We’ll skip this step for now and do it later.
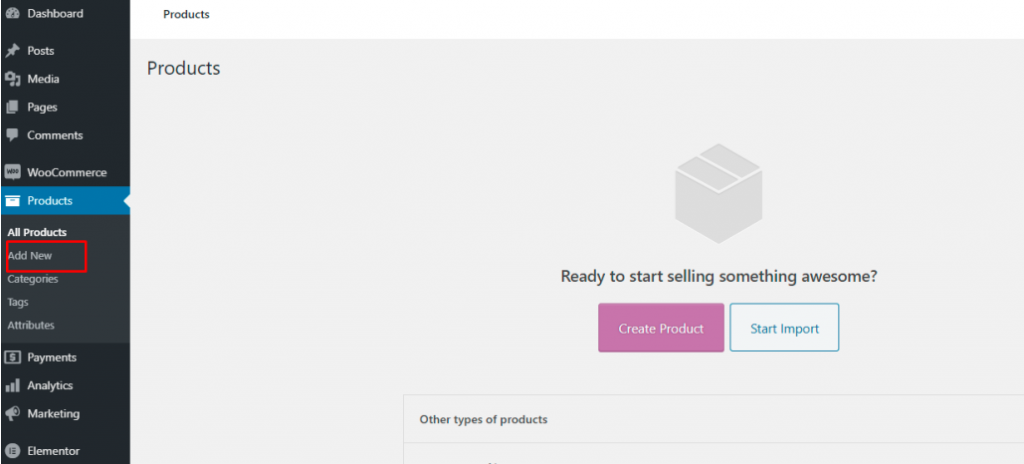
Step 4: Store Setup
The main part of our online store is the setup. Now when we have the plugin installed, we need to configure the settings and add the first product. Click on “Products” and then on “Add New.”
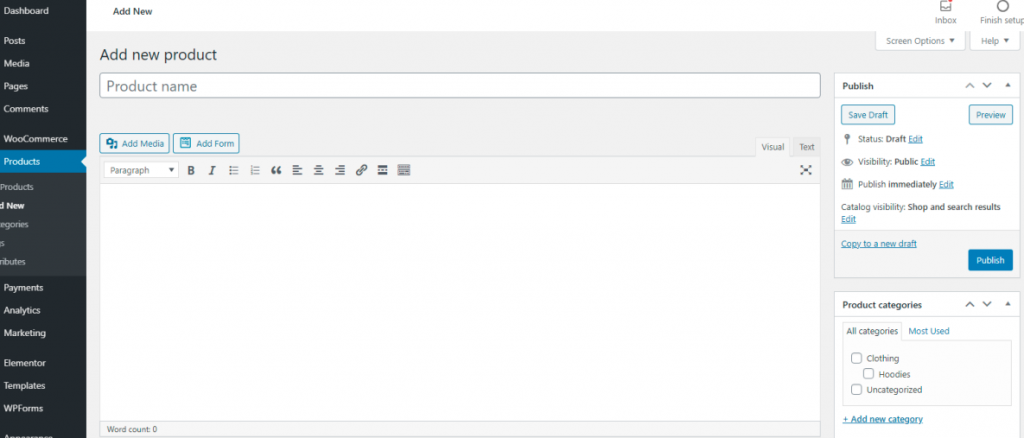
A new window will open in where you need to enter the name of the product or exactly what you are selling. Enter a detailed description in the field below. Remember that product descriptions are important and must be as detailed as possible. If something is unclear to your visitors, then you are less likely to convert visitors into customers. Don’t skimp on words, be detailed, and give as much information as possible.
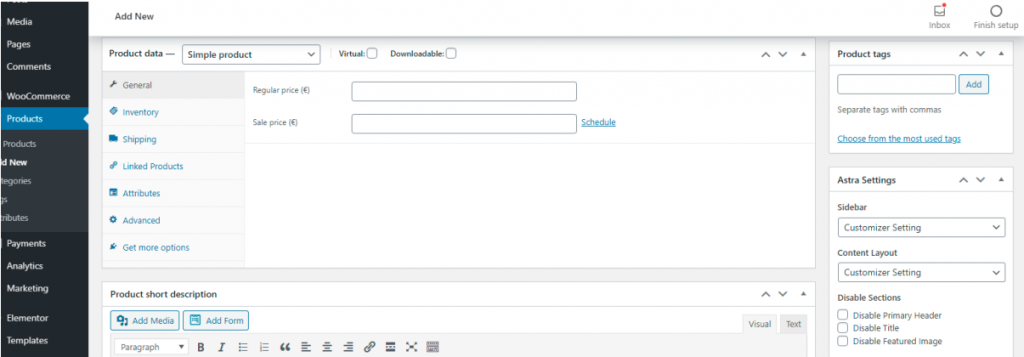
Below the product description, you can choose whether the product is virtual or downloadable. On the left, you have additional options such as price, where you can enter the normal price as well as the price when the product is discounted, then the inventory, where you can see how many products you have in stock.
This is followed by the Shipping option. Within this option, you set up the details of sending the product to customers. Within the Attributes option, you set up the product description such as color, length, weight, and so on.
Below are options for adding images. Make sure the product images are as high quality as possible. Quality images take up a lot of space, but there are a lot of WordPress plugins that will optimize the images without losing quality. You can download them for free from the WordPress repository the same way you downloaded the WooCommerce plugin.
Enhance Your Store’s Security
To protect your online store from unauthorized access and potential security threats, it’s crucial to implement robust security measures. Consider installing the WP Login Lockdown plugin. This plugin secures your login page by limiting the number of login attempts from a specific IP address within a certain timeframe, effectively preventing brute-force attacks on your admin login.
Additionally, adding a CAPTCHA to your login and registration forms can further enhance security. The WP Captcha plugin integrates seamlessly with WooCommerce, providing an extra layer of protection against automated bots attempting to access your site.
Step 5: Payment Gateways
One of the most important aspects of any online e-commerce business is the payment options. And pertaining to WooCommerce and WordPress directly, so are themes.
As for payment gateways, WooCommerce comes with PayPal and several other payment services. PayPal works globally, and most countries can use it. However, if you want to accept credit cards on your site, then you need to be careful.
Most services like Stripe only accept business from certain countries. If your country is on the list of supported countries, then you have no problem. But what if you want to sell a product and your country is not on the list?
There is one payment gateway that has support in more than 250 countries, and it also has a very high-quality WooCommerce plugin. This gateway is 2Checkout.
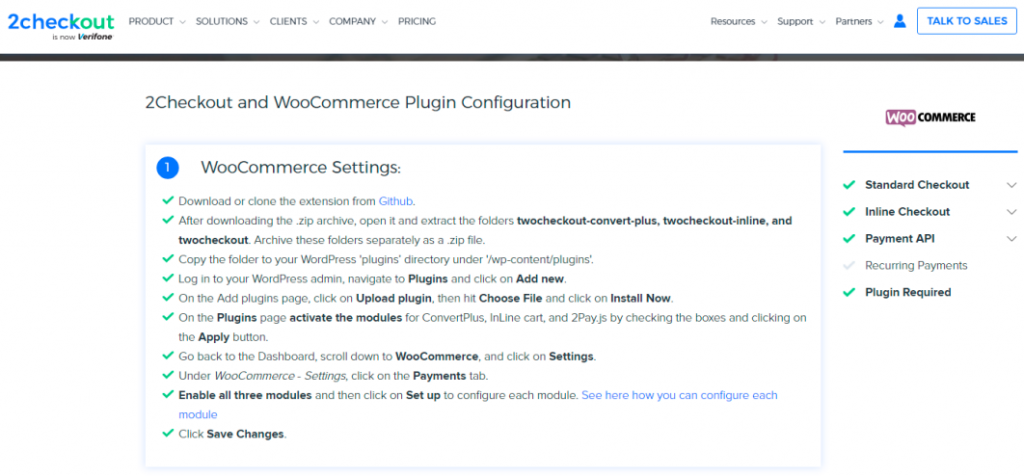
Registration on 2Co takes a few minutes. Don’t forget to check the terms of use of this service. Administrators of 2Co will check your site and need to approve the business opportunity. Some products are on the prohibited products list, so visit their site first and make sure what you are selling is allowed.
Step 6: Themes
When it comes to WooCommerce themes, we have to say that this plugin is compatible with any WordPress theme. It will work without problems. However, our advice is to choose a ready-made theme that is designed specifically for WooCommerce.
If you type “free WooCommerce themes” on Google, you will get a lot of results. Choose themes that have good feedback, good support, and good user comments. The last thing you want is problems with your site. Problematic sites repel customers, so the damage is huge.
Therefore, the best option is to buy a popular, user-reviewed WooCommerce theme. In case of any problems, you’ll have support, and the problem will be solved very quickly. Once you have installed the theme, you can then modify and edit it until you achieve the desired results.
Step 7: Extentions
Although we have done most of the work, our online store is still not completely finished. You need to have a plan for what exactly you want to accomplish. To expand the functionality of your WordPress store, you need to add certain plugins.
Secure Your .htaccess File
The .htaccess file is vital for configuring your website’s server settings, including security and performance optimizations. Managing this file manually can be risky if you’re not familiar with its syntax. The HT Access plugin allows you to manage and secure your .htaccess file directly from your WordPress dashboard. With this plugin, you can easily implement essential security measures such as blocking unwanted IP addresses, setting up redirects, and preventing directory browsing, all without the fear of making errors that could disrupt your site.
There are so many of them within the WordPress repository, and most are free. If you want something specific, then you will probably have to pay. You can also increase the functionality of your site by installing one of the many WooCommerce extensions.
There are many free extensions, although most are paid. Those that might be interesting are shipment tracking extensions, payment gateways, store management, POS, and others.
Final Thoughts
WooCommerce is a complete solution that allows you to create an online store that will contain absolutely everything you want. Once you have created your online store, you can start adding products. After that, you need to make out a marketing strategy, and your business is ready.
Although there are a lot of extensions and scripts on the market, the best option to make your own store is WooCommerce. It is based on WordPress, and all of the essentials are free. It has a large number of extensions that will help you expand the store’s functionality, and it is fully compatible with absolutely any WordPress theme.
Unlike other solutions, WooCommerce is fast, stable, free (in a limited version), and the best tool you can use to create an online store on a budget. Best of luck.